Photographing the Night Sky
Summertime is Prime Time for Night Photography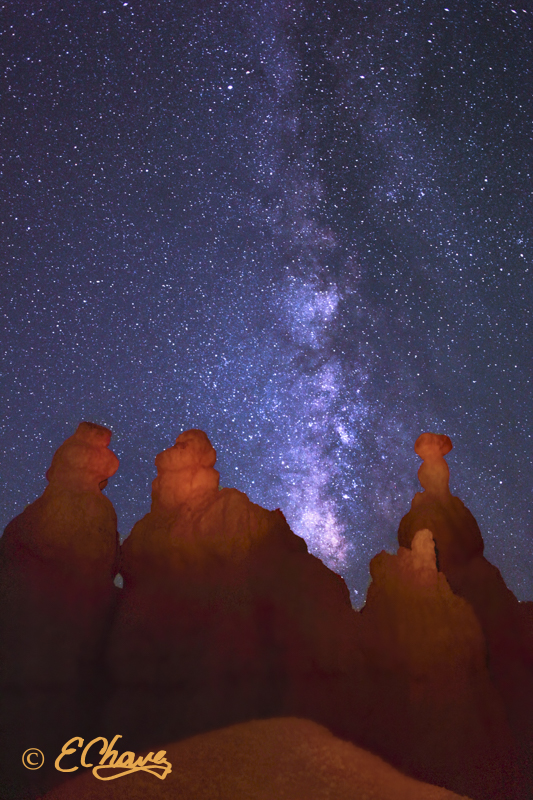
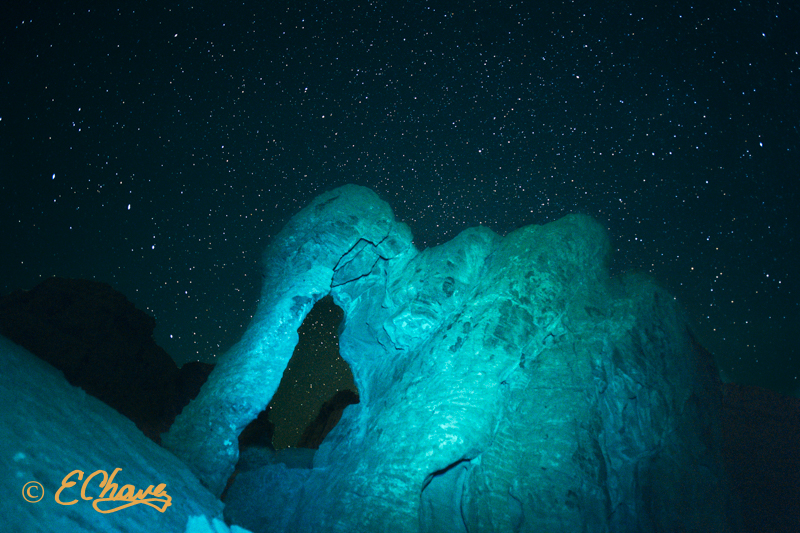
The night sky is infinite and inspiring. As a kid, my father, brother and I would camp out in the middle of nowhere in the Southern Arizona desert. We did not use a tent and often told jokes and gazed at the stars, planets and an occasional shooting star until sleep dragged our eyelids closed. We shared a very peaceful awesome feeling with the vastness and beauty of the stars. With a bit of l planning and some basic knowledge for camera settings for night sky photography, you can create some awesome night sky photographs which you can cherish forever.
Find a Dark Site
The upcoming months of June through September provide great opportunities to photograph the night sky. The temperature at night is comfortable and the Milky Way galaxy is visible. Unfortunately, the lights from the ever expanding cities makes it more difficult to see the sky clearly. You may have to travel to a “dark site” to get away from the city lights to enjoy a grand view of a dark sky. Most people have never had this experience. Here are some links which will help you identify dark sites:
Phase of the Moon
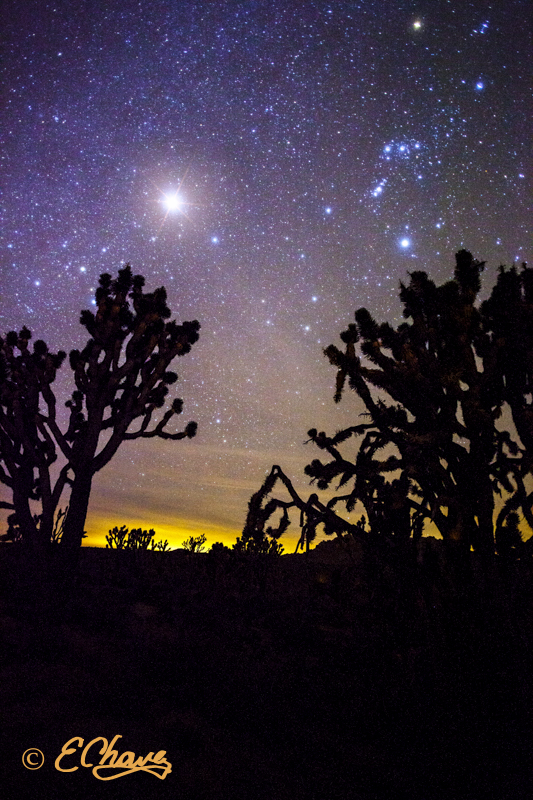
The moon can wash out the view of the stars at night. Most night sky photography is done during a new moon, ie no visible moon, or after the moon has set. The ideal setting would be a night when there is no visible moon, the Milky Way is overhead and you are enjoying the night sky at a reasonably dark site. Darker is better! There are many moon calendars online like this one: http://www.calendar-365.com/moon/moon-calendar.html
Equipment
Having identified a dark site, we need to understand the necessary camera settings. At night, there is very little light and so your camera’s shutter needs to remain open for a longer period of time to allow enough light to generate a photo. During the day, you shutter opens and closes in a fraction of a second. For night photography, you need to leave the shutter open for 15-30 seconds, depending on your lens and ISO setting. In addition, the aperture on the lens needs to be open very wide to collect enough light during this duration. In general, wide lenses with wide aperture settings work best. There is no way to hand hold a camera for more than 1 second and get a clear picture; therefore, you need to have your camera on a sturdy tripod. Without going into detail, the following settings can be used as a guideline to successfully get a correct exposure for the night sky:
- Place your camera on the tripod.
- Set your camera dial to “manual mode”
- Set your camera to “manual focus”
- Set the “ISO” to 1600
- Set the aperature to wide (F3.5, F3.2, F2.8, F1.4)
- Make the corresponding shutter setting (see table below)
- Compose your image
- Focus the lens manually
- Take a photograph
- Check the result.
Lens Seconds
- 16 mm 30 sec
- 20 mm 25 sec
- 24 mm 20 sec
- 35 mm 14 sec
- 50 mm 10 sec
A common setting I use for my 24mm lens is 20 sec, F2.0, ISO 1600. This works for me! Feel free to experiment with your settings. If your stars start to blur, you need a faster exposure. Try increasing your ISO setting or varying your F-stop setting.If you are not getting enough exposure with these settings, you may have to increase the ISO setting to 3200. Be sure to practice making these adjustments on your camera during daylight hours, for it is more difficult to do so in the dark. Proper focus may be difficult at night. A common technique for focusing is to manually set the focus ring to infinity, then back off just a hair. This is a very subtle setting, but it can make a huge difference in the final image.
Technique
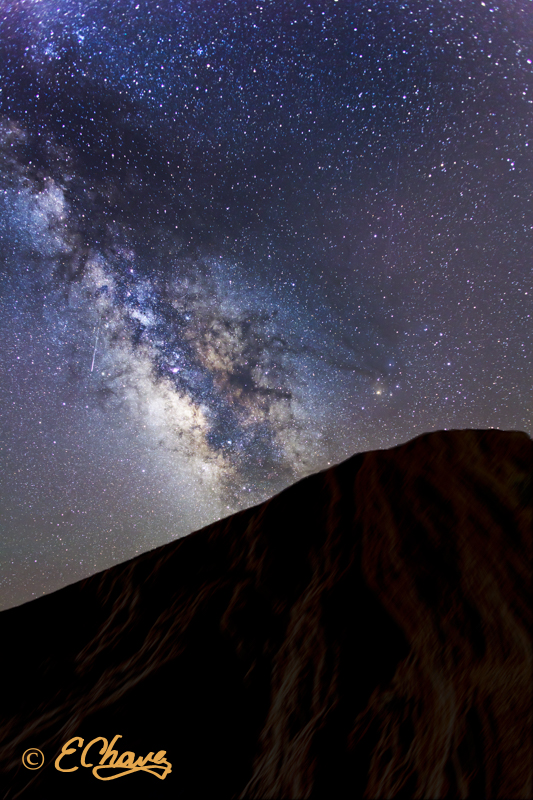
With a bit of planning, it is possible to compose an image in your mind’s eye and ultimately end up creating a “keeper” photograph that you can enjoy. I really enjoy photographing the Milky Way. From the northern hemisphere, the most dramatic part of the milky is known as the “Southern Pipe” and can be found to the South after the Milky Way has risen sufficiently in the sky. Milky Way photos look great when there is something in the foreground to get the viewer’s interest, and the background is full of the awesome bright stars. The foreground could be tree, building, an old car, a person, a lake or whatever you can use to make an interesting composition. Some photographers use a very dim light to help the viewer see the foreground. This is a very quick manual painting with dim light on the foreground.
Planning for Success
Planning is the key to successful night sky photography. Here is a brief outline for good planning:
- Know what time the Milky Way will rise
- Shoot at a dark site
- Plan the composition by scouting the area out ahead of time
- Know when the moon is new
- Check the weather ahead of time
- Check your equipment – make sure you have enough batteries!
- Be creative
- Be safe
If you plan in advance, you stand a good chance of getting the desired result. Experimentation with lighting can be fun and add interest to your photos. Once you have the technique, let the creative juices flow. And finally, the most important part of night sky photography is to enjoy the solitude and be thankful for having the opportunity to be part of the immense universe in which we live. You can see some of my photographs at: https://galleriachavez.com/product-category/artwork/night-sky/
I wish you clear skies and enough batteries!
Ernesto Chavez

Recent Comments